Principle of temperature and humidity sensor
(1) Principle of temperature sensor
1. Sensor designed based on metal expansion principle
Metals will produce a corresponding extension when the ambient temperature changes, so the sensor can convert this response in different ways.
2. Bimetallic sensor
A bimetallic sensor is composed of two pieces of metal with different expansion coefficients stuck together. As the temperature changes, material A is more sensitive than the other metal. The degree of expansion should be high, causing the metal sheet to bend. The curvature of the bend can be converted into an output signal.
3. Bimetal rod and metal tube sensor
As the temperature increases, the length of the metal tube (material A) increases, while the length of the non-expanding steel rod (metal B) does not does not increase, so that the linear expansion of the metal tube due to the change in position can be transmitted. In turn, this linear expansion can be converted into an output signal.
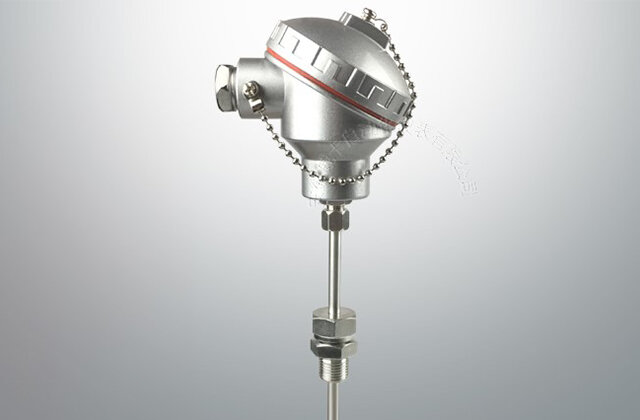
4. Sensors designed with deformation curves of liquids and gases
When the temperature changes, liquids and gases will also produce corresponding Changes in volume.
Many types of structures can convert this change in expansion into a change in position, thus producing a position change output (potentiometer, sensing bias, baffle, etc.).
5. Resistance sensor
As the temperature of metal changes, its resistance value also changes. For different metals, the resistance value changes differently every time the temperature changes by one degree, and the resistance value can be directly used as an output signal.
(2) Principle of humidity sensor
The humidity sensor is the simplest humidity sensor. There are two main types of humidity sensors: resistive and capacitive.
Humidity-sensitive resistor: The characteristic of humidity-sensitive resistor is that the substrate is covered with a film made of moisture-sensitive material. When water vapor in the air is adsorbed on the moisture-sensitive film, the resistivity of the element increases. Both the resistance value and the resistance value change, and this feature can be used to measure humidity. The advantage of hygroscopic resistors is high sensitivity, but the main disadvantages are poor linearity and product interchangeability.
Humidity-sensitive capacitors: Humidity-sensitive capacitors are generally made of polymer film capacitors. When the ambient humidity changes, the dielectric constant of the humidity-sensitive capacitor changes, and its capacitance also changes. The capacitance change is proportional to the relative humidity. The main advantage of humidity-sensitive capacitors is high sensitivity, good product interchangeability, fast response speed, small hysteresis of humidity, easy to manufacture, easy to achieve miniaturization and integration, and its accuracy is generally lower than that of hygroscopic resistors.
How to wire the temperature and humidity sensor
1 —— GND sensor power ground (optional)
2 —— T/A Output: 4-20mA Temperature: -20 ~ 80ºC
3 —— H/B Output: 4-20mA Humidity: 0%~100%
4 —— GND sensor power ground
5 – GND sensor power ground
6 – VDD transmitter power supply
Note: Never connect the output signal to the power line. Otherwise, the side components and sensors will burn out immediately.
Open the back cover of the thermometer, loosen the screws at the wiring location, and observe the wiring connectors, which should be as follows:

Use a multimeter to measure the distance between the three lead connectors of the resistance sensor resistance value. The resistance between two of them should be 0, and the resistance between the other and the others should be about 100. Label this root line A.
Connect the wire marked A to the A terminal in step 1 first, and connect the other two wires to the B and C terminals respectively. These two wires can be connected at will.
Tightening screws and built-in battery.
Install the outer cover and the installation is complete.
If the website content violates your rights, please contact us to delete it。


